> ## Documentation Index
> Fetch the complete documentation index at: https://dub-client-tracking-lead-sale.mintlify.site/llms.txt
> Use this file to discover all available pages before exploring further.
# Appwrite
> Learn how to track lead conversion events with Appwrite and Dub
Conversion tracking require a [Business plan](https://dub.co/pricing)
subscription or higher.
When it comes to [conversion tracking](/conversions/quickstart), a `lead` event happens when a user performs an action that indicates interest in your product or service. This could be anything from:
* Signing up for an account
* Adding a product to cart
* Joining a mailing list
 In this guide, we will be focusing on tracking new user sign-ups for a SaaS application that uses Appwrite for user authentication.
## Prerequisites
Before you get started, make sure you follow the [Dub Conversions quickstart guide](/conversions/quickstart) to get Dub Conversions set up for your links:
1. [Enable conversion tracking for your links](/conversions/quickstart#step-1%3A-enable-conversion-tracking-for-your-links)
2. [Install the @dub/analytics client-side SDK](/sdks/client-side/introduction)
3. [Install the Dub server-side SDK](/sdks/overview#server-side-sdks)
## Configure Appwrite
Next, configure Appwrite to track lead conversion events during the sign up process.
Head to [Appwrite Cloud](https://apwr.dev/appwrite-dub) and create a new project.
In this guide, we will be focusing on tracking new user sign-ups for a SaaS application that uses Appwrite for user authentication.
## Prerequisites
Before you get started, make sure you follow the [Dub Conversions quickstart guide](/conversions/quickstart) to get Dub Conversions set up for your links:
1. [Enable conversion tracking for your links](/conversions/quickstart#step-1%3A-enable-conversion-tracking-for-your-links)
2. [Install the @dub/analytics client-side SDK](/sdks/client-side/introduction)
3. [Install the Dub server-side SDK](/sdks/overview#server-side-sdks)
## Configure Appwrite
Next, configure Appwrite to track lead conversion events during the sign up process.
Head to [Appwrite Cloud](https://apwr.dev/appwrite-dub) and create a new project.
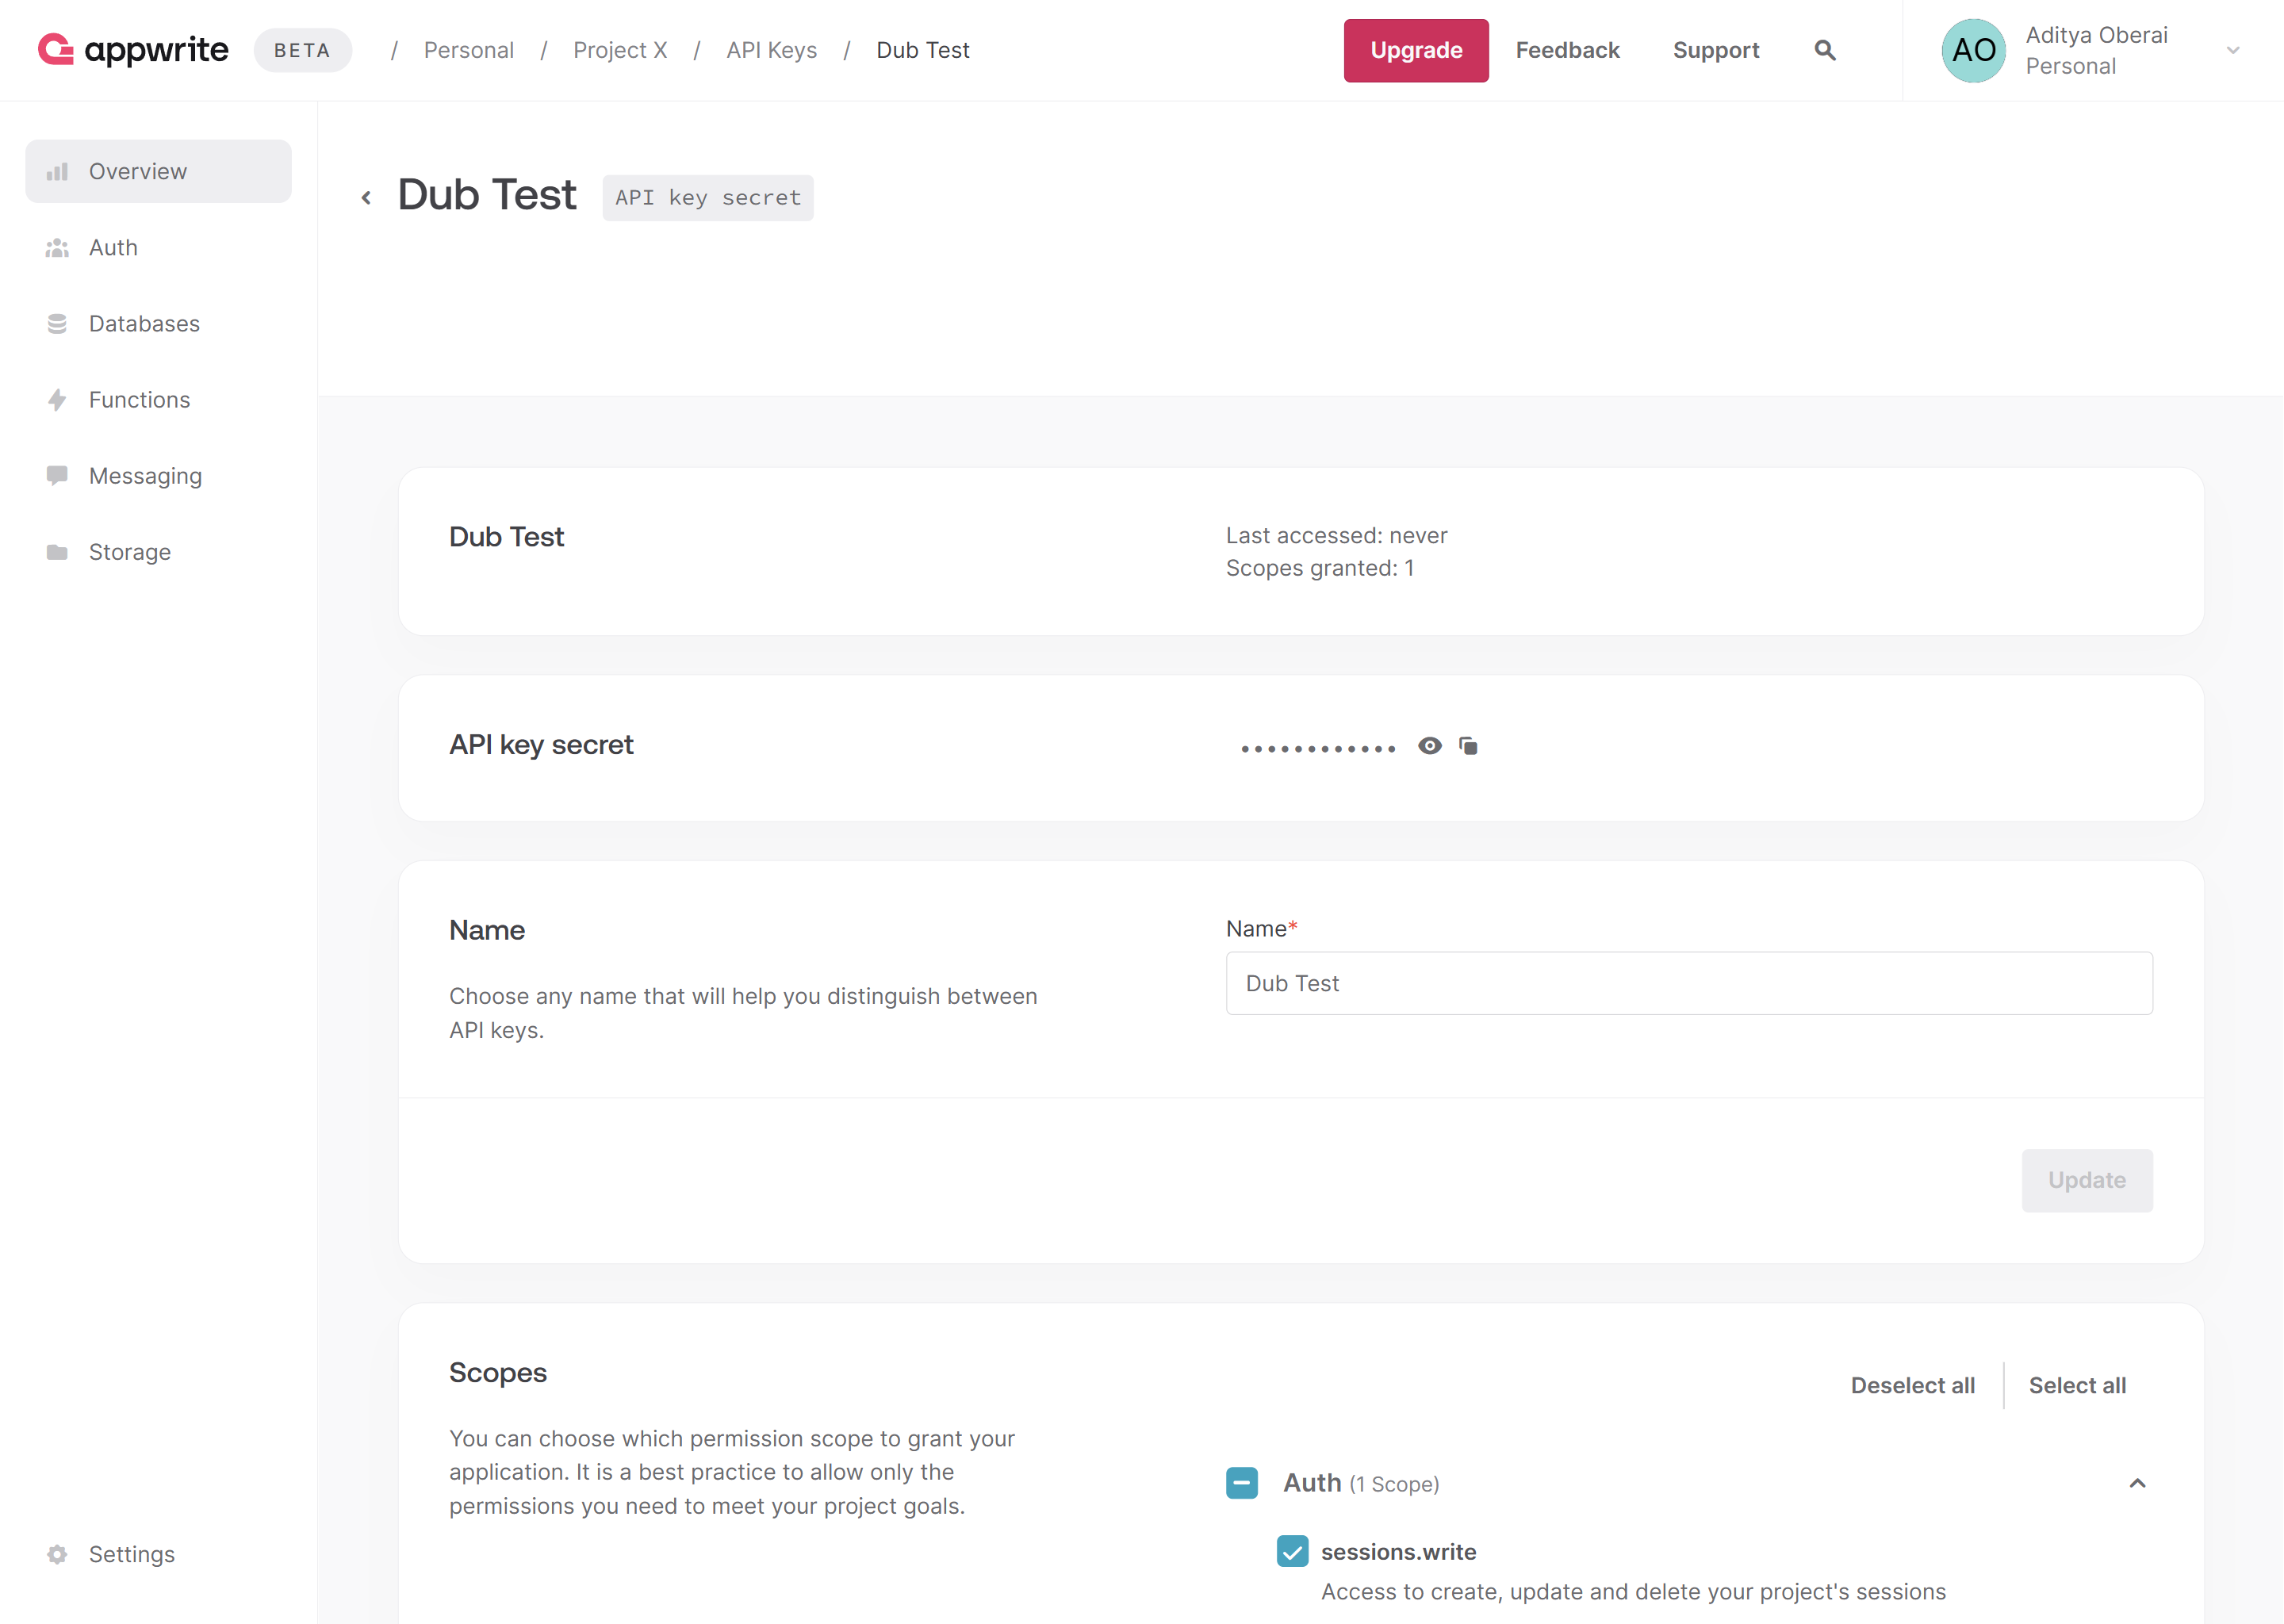
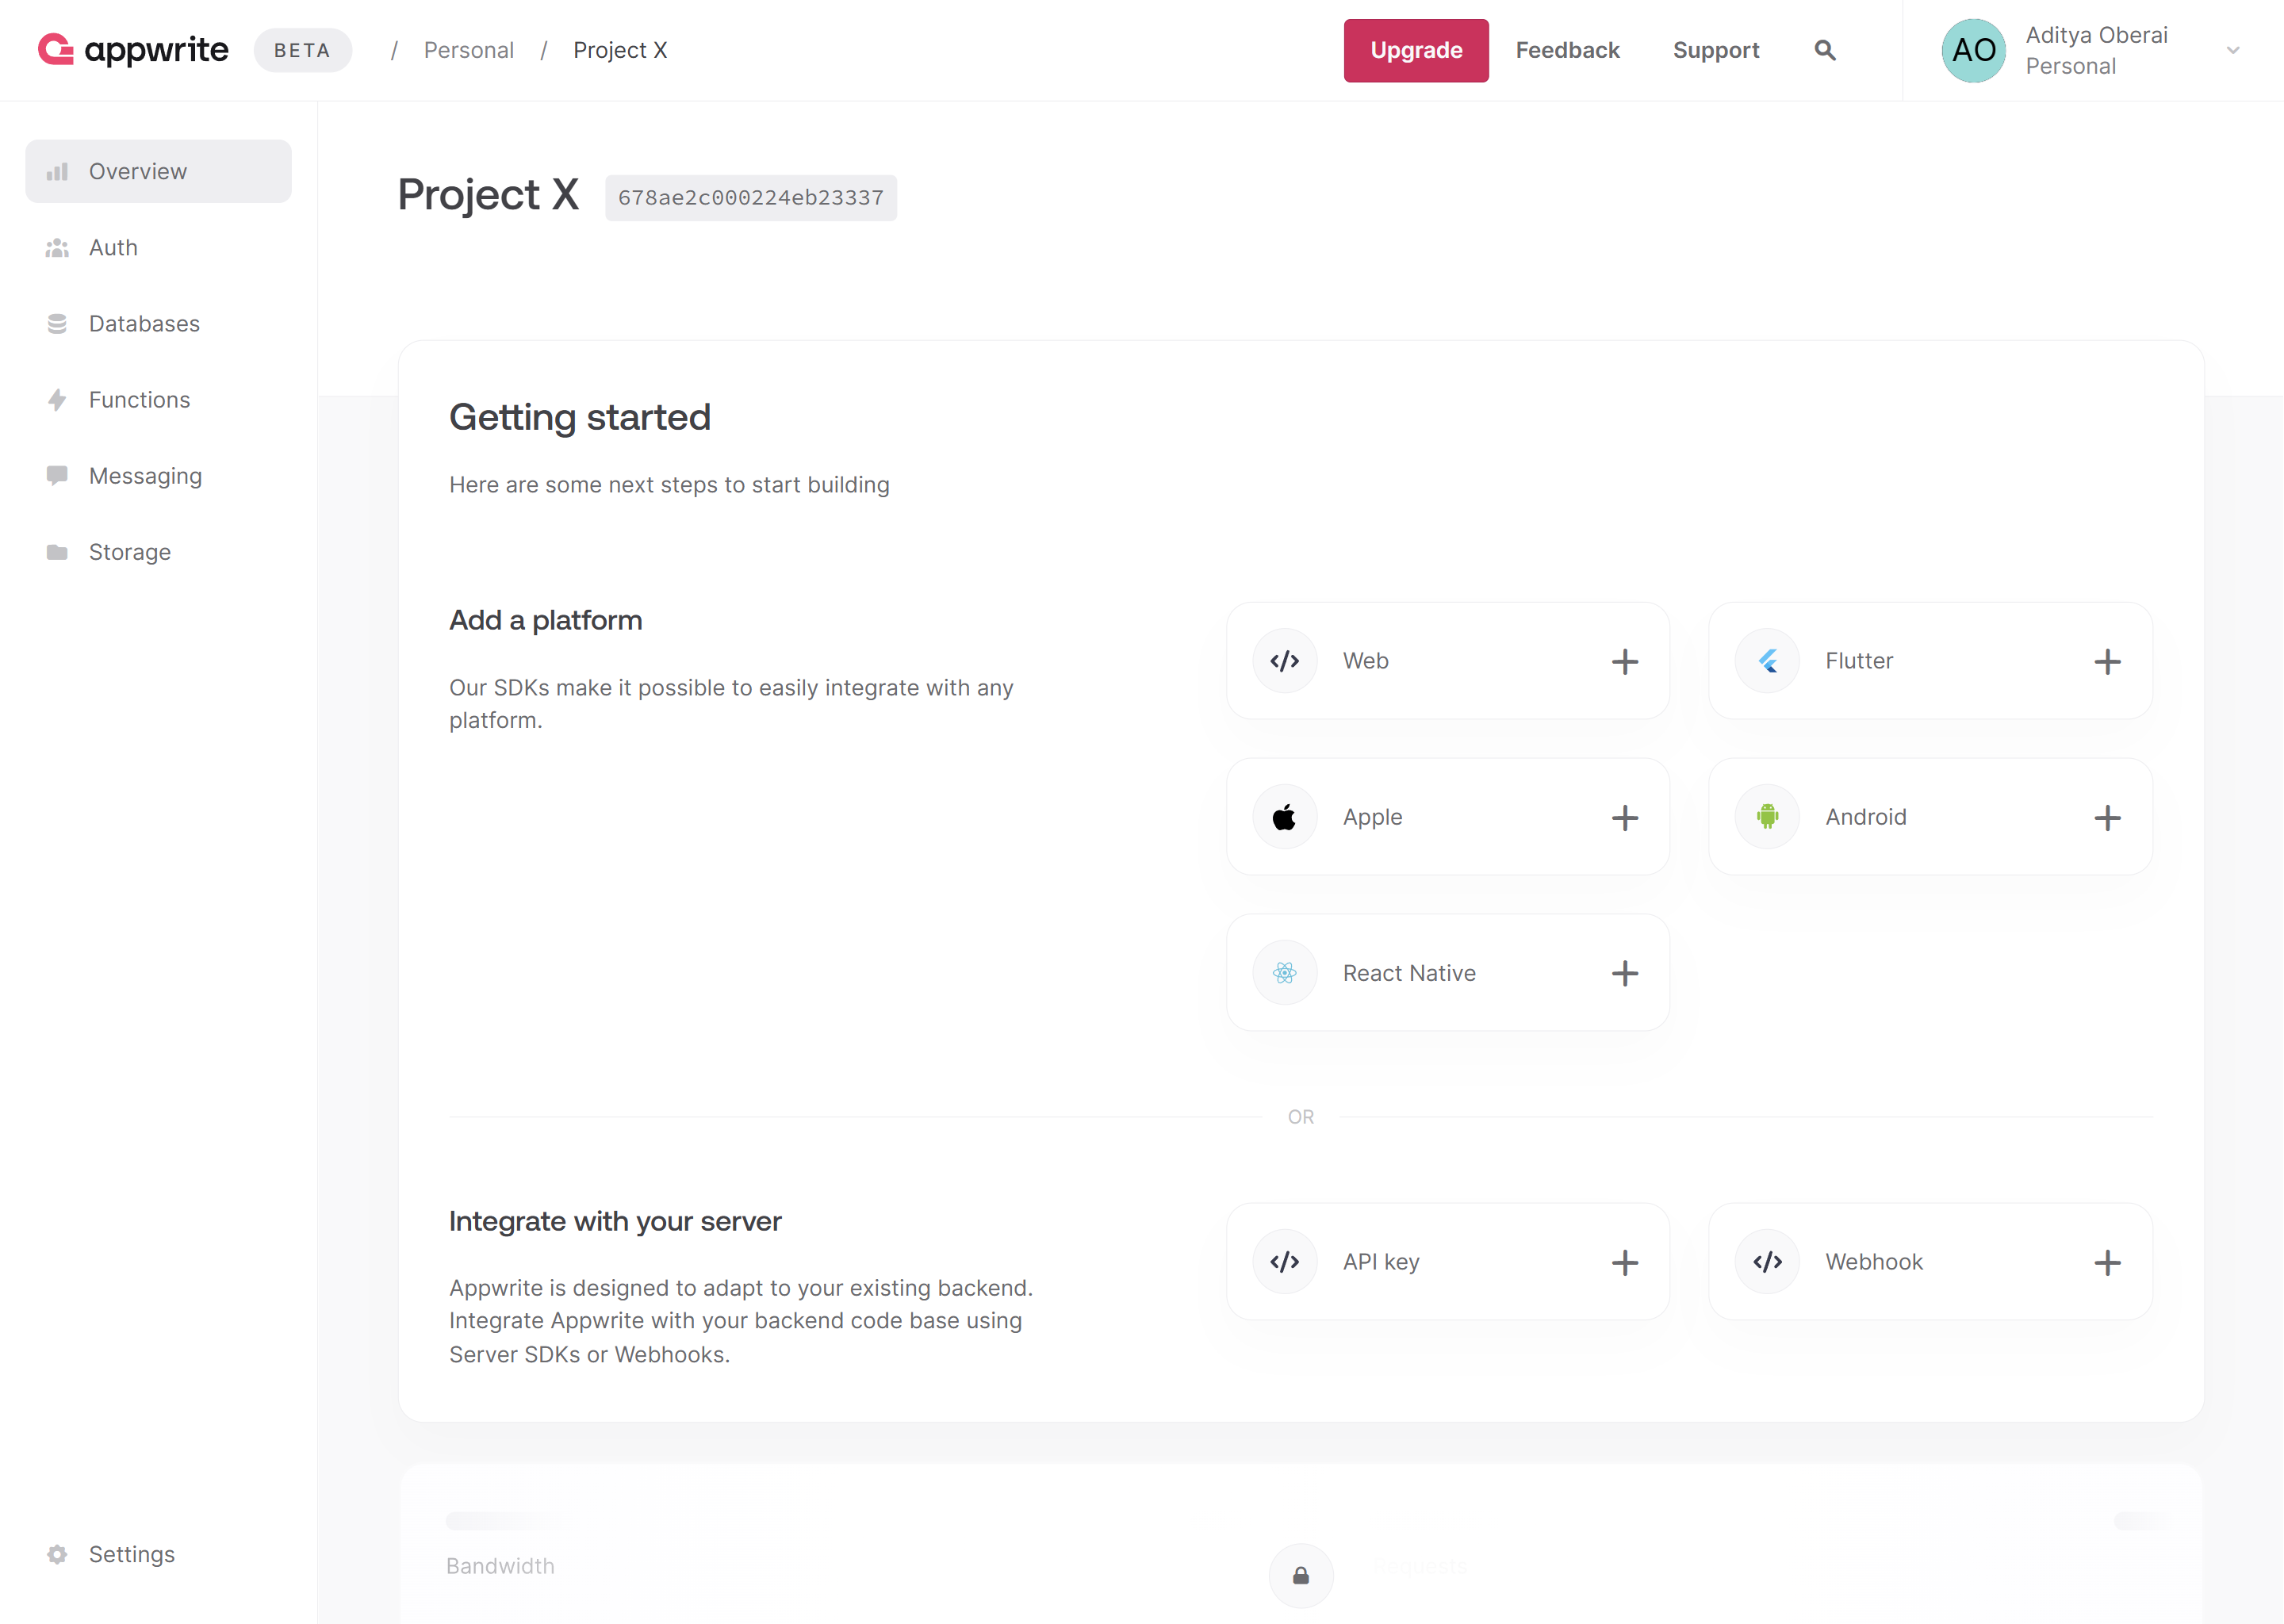 Create a new API key with the `sessions.write` scope enabled and save the API key for later use. You can also copy your project ID and endpoint from the project's Settings page.
 Then, in your Next.js app, install the Appwrite Node.js SDK.
```bash
npm i node-appwrite
```
Add the following environment variables to your app.
```bash
NEXT_PUBLIC_APPWRITE_ENDPOINT=https://cloud.appwrite.io/v1
NEXT_PUBLIC_APPWRITE_PROJECT=
NEXT_APPWRITE_KEY=
NEXT_DUB_API_KEY=
```
Add the `DubAnalytics` component from the `@dub/analytics` package to your app’s root layout.
```tsx src/app/layout.tsx
import type { Metadata } from 'next';
import { Analytics as DubAnalytics } from '@dub/analytics/react';
export const metadata: Metadata = {
title: 'Appwrite Dub Leads Example',
description: 'Appwrite Dub Leads Tracking example app with Next.js'
};
export default function RootLayout({
children
}: Readonly<{
children: React.ReactNode;
}>) {
return (
{children}
);
}
```
Create the Appwrite Session and Admin client (necessary for SSR apps, as explained in the [Appwrite docs](https://appwrite.io/docs/products/auth/server-side-rendering)). Additionally, create a function to verify user login.
```ts src/lib/server/appwrite.ts
'use server';
import { Client, Account } from 'node-appwrite';
import { cookies } from 'next/headers';
export async function createSessionClient() {
const client = new Client()
.setEndpoint(process.env.NEXT_PUBLIC_APPWRITE_ENDPOINT as string)
.setProject(process.env.NEXT_PUBLIC_APPWRITE_PROJECT as string);
const session = (await cookies()).get('my-custom-session');
if (!session || !session.value) {
throw new Error('No session');
}
client.setSession(session.value);
return {
get account() {
return new Account(client);
}
};
}
export async function createAdminClient() {
const client = new Client()
.setEndpoint(process.env.NEXT_PUBLIC_APPWRITE_ENDPOINT as string)
.setProject(process.env.NEXT_PUBLIC_APPWRITE_PROJECT as string)
.setKey(process.env.NEXT_APPWRITE_KEY as string);
return {
get account() {
return new Account(client);
}
};
}
```
Create the Dub client and send leads to Dub using the `dub.track.lead()` function.
```ts src/lib/server/dub.ts
import type { Models } from 'node-appwrite';
import { Dub } from 'dub';
const dub = new Dub({
token: process.env.NEXT_DUB_API_KEY
});
export function addDubLead(user: Models.User, dub_id: string) {
dub.track.lead({
clickId: dub_id,
eventName: 'Sign Up',
customerExternalId: user.$id,
customerName: user.name,
customerEmail: user.email
});
}
```
In the `/auth` page, use the Appwrite Admin client to allow users to sign up. Post sign up, check if the `dub_id` cookie is present, send a lead event to Dub if found, and delete the `dub_id` cookie.
```tsx src/app/auth/page.tsx
import { ID } from 'node-appwrite';
import { createAdminClient, getLoggedInUser } from '@/lib/server/appwrite';
import { cookies } from 'next/headers';
import { redirect } from 'next/navigation';
import { addDubLead } from '@/lib/server/dub';
async function signUpWithEmail(formData: any) {
'use server';
// Get sign up info from form
const email = formData.get('email');
const password = formData.get('password');
const name = formData.get('name');
// Create account and session using Appwrite
const { account } = await createAdminClient();
const user = await account.create(ID.unique(), email, password, name);
const session = await account.createEmailPasswordSession(email, password);
(await cookies()).set('my-custom-session', session.secret, {
path: '/',
httpOnly: true,
sameSite: 'strict',
secure: true
});
// Check if Dub ID is present in cookies and track lead if found
const dub_id = (await cookies()).get('dub_id')?.value;
if (dub_id) {
addDubLead(user, dub_id);
(await cookies()).delete('dub_id');
}
// Redirect to success page
redirect('/auth/success');
}
export default async function SignUpPage() {
// Verify active user session and redirect to success page if found
const user = await getLoggedInUser();
if (user) redirect('/auth/success');
return (
<>
);
}
```
Here's the full list of attributes you can pass when sending a lead event:
| Property | Required | Description |
| :------------------- | :------- | :----------------------------------------------------------------------------------------------------------------------- |
| `clickId` | **Yes** | The unique `dub_id` parameter that the lead conversion event is attributed to. |
| `eventName` | **Yes** | The name of the event. Example: "Sign up". |
| `customerExternalId` | **Yes** | The unique ID of the customer in your system. Will be used to identify and attribute all future events to this customer. |
| `customerEmail` | No | The email address of the customer. If not passed, a random email address will be generated. |
| `customerName` | No | The name of the customer. If not passed, a random name will be generated (e.g. "Big Red Caribou"). |
| `customerAvatar` | No | The avatar URL of the customer. If not passed, a random avatar URL will be generated. |
## Example App
To learn more about how to track leads with Appwrite, check out the following example app:
See how to track new user sign-ups with Appwrite and the Dub SDK.
## View your conversions
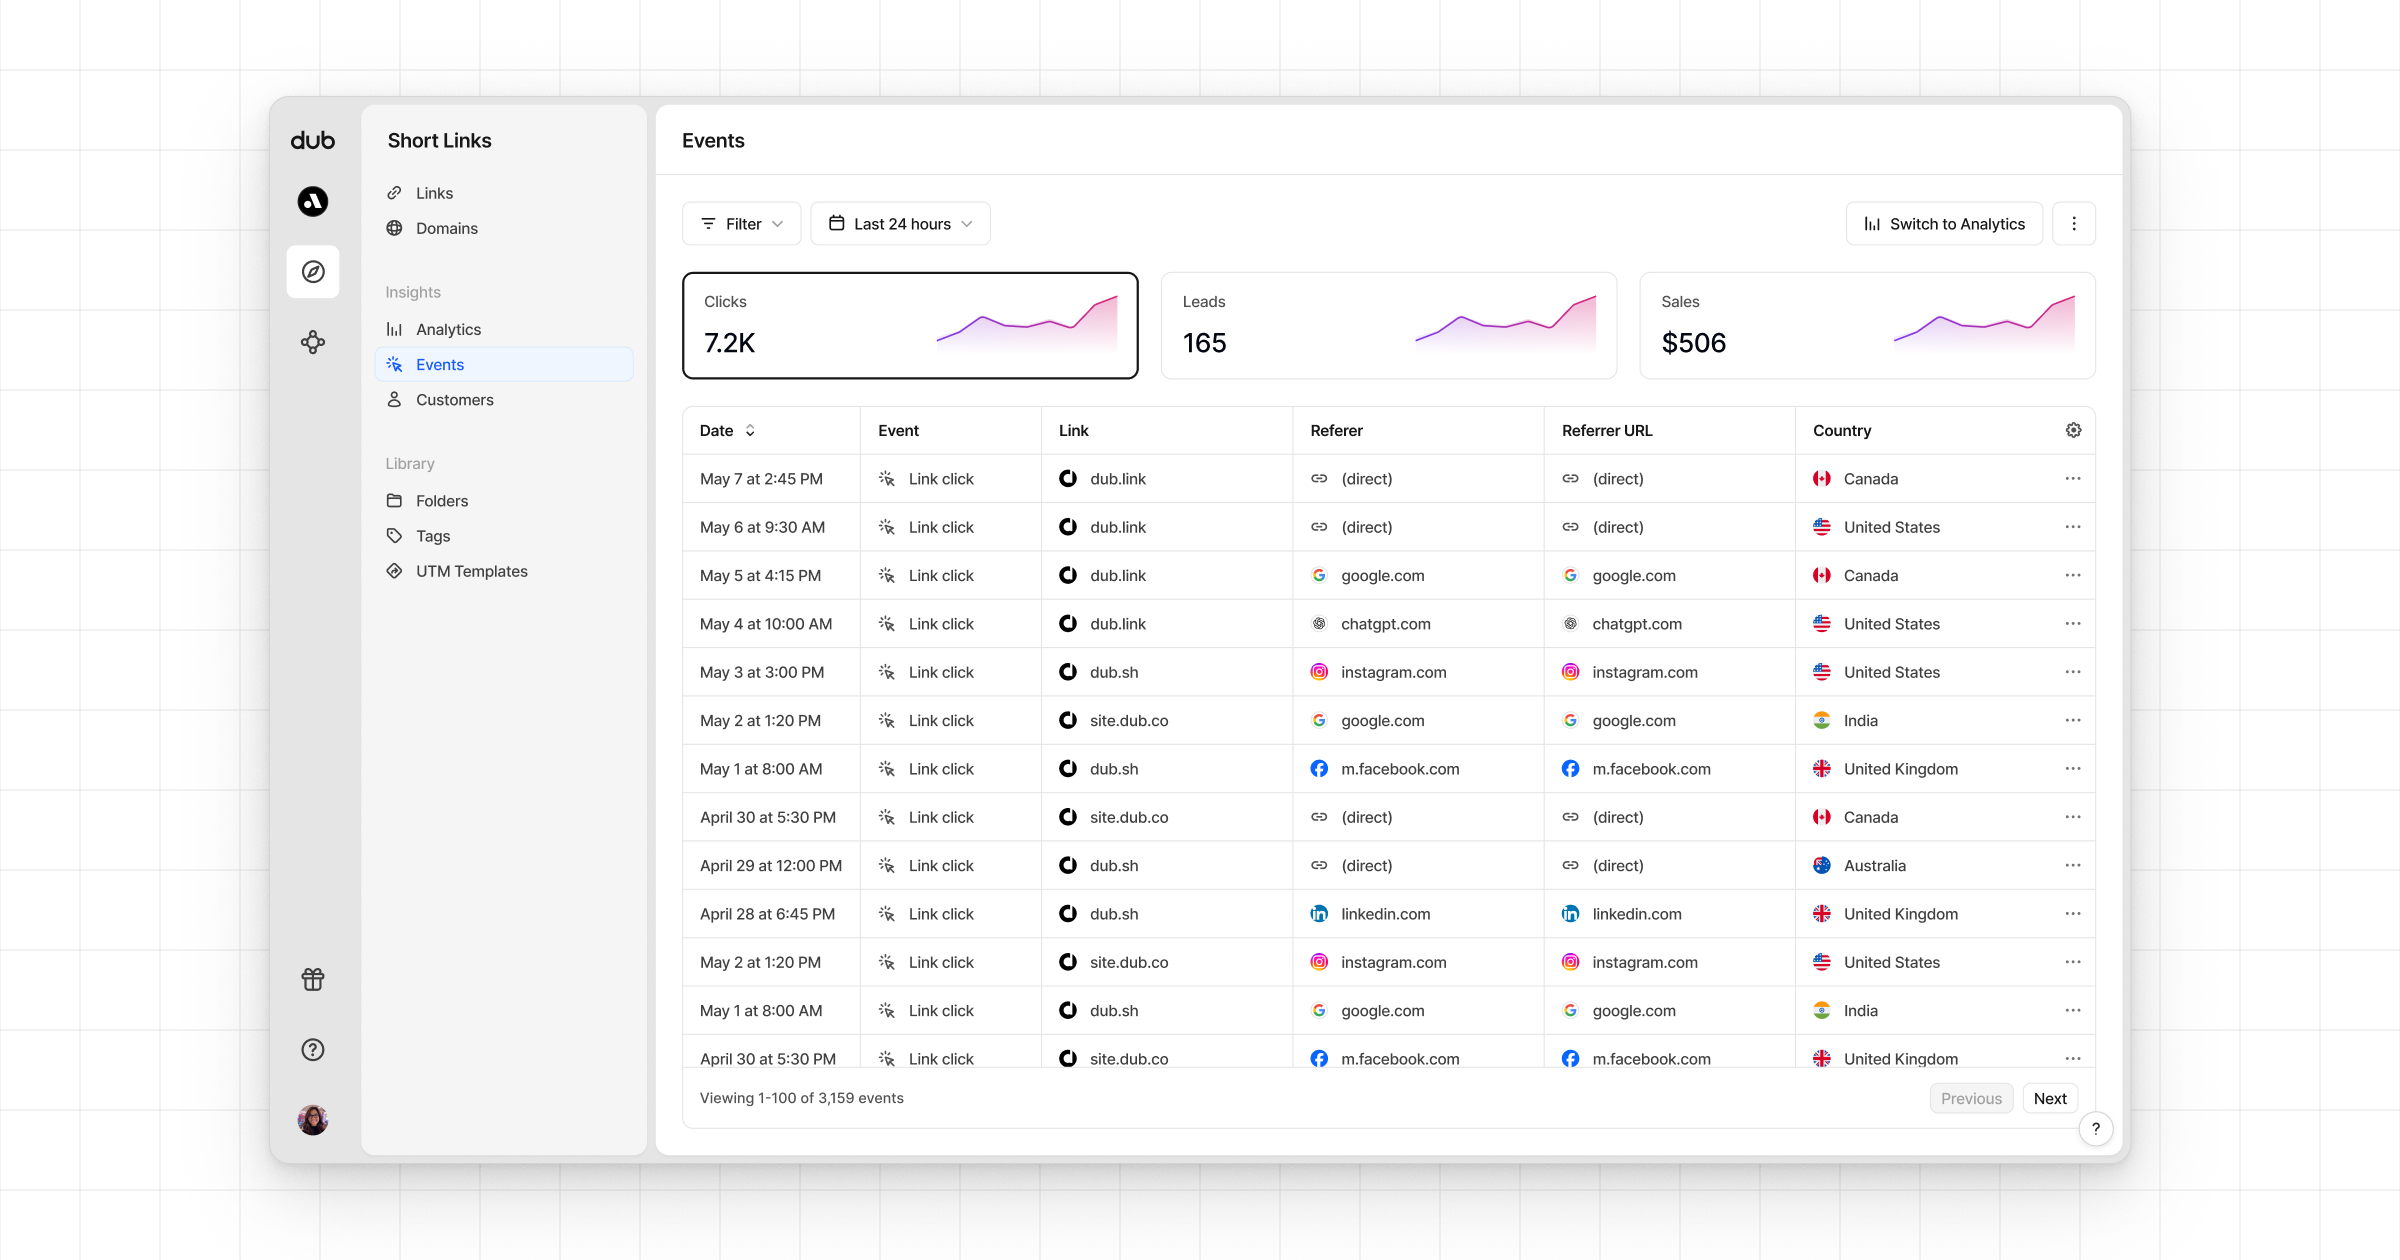
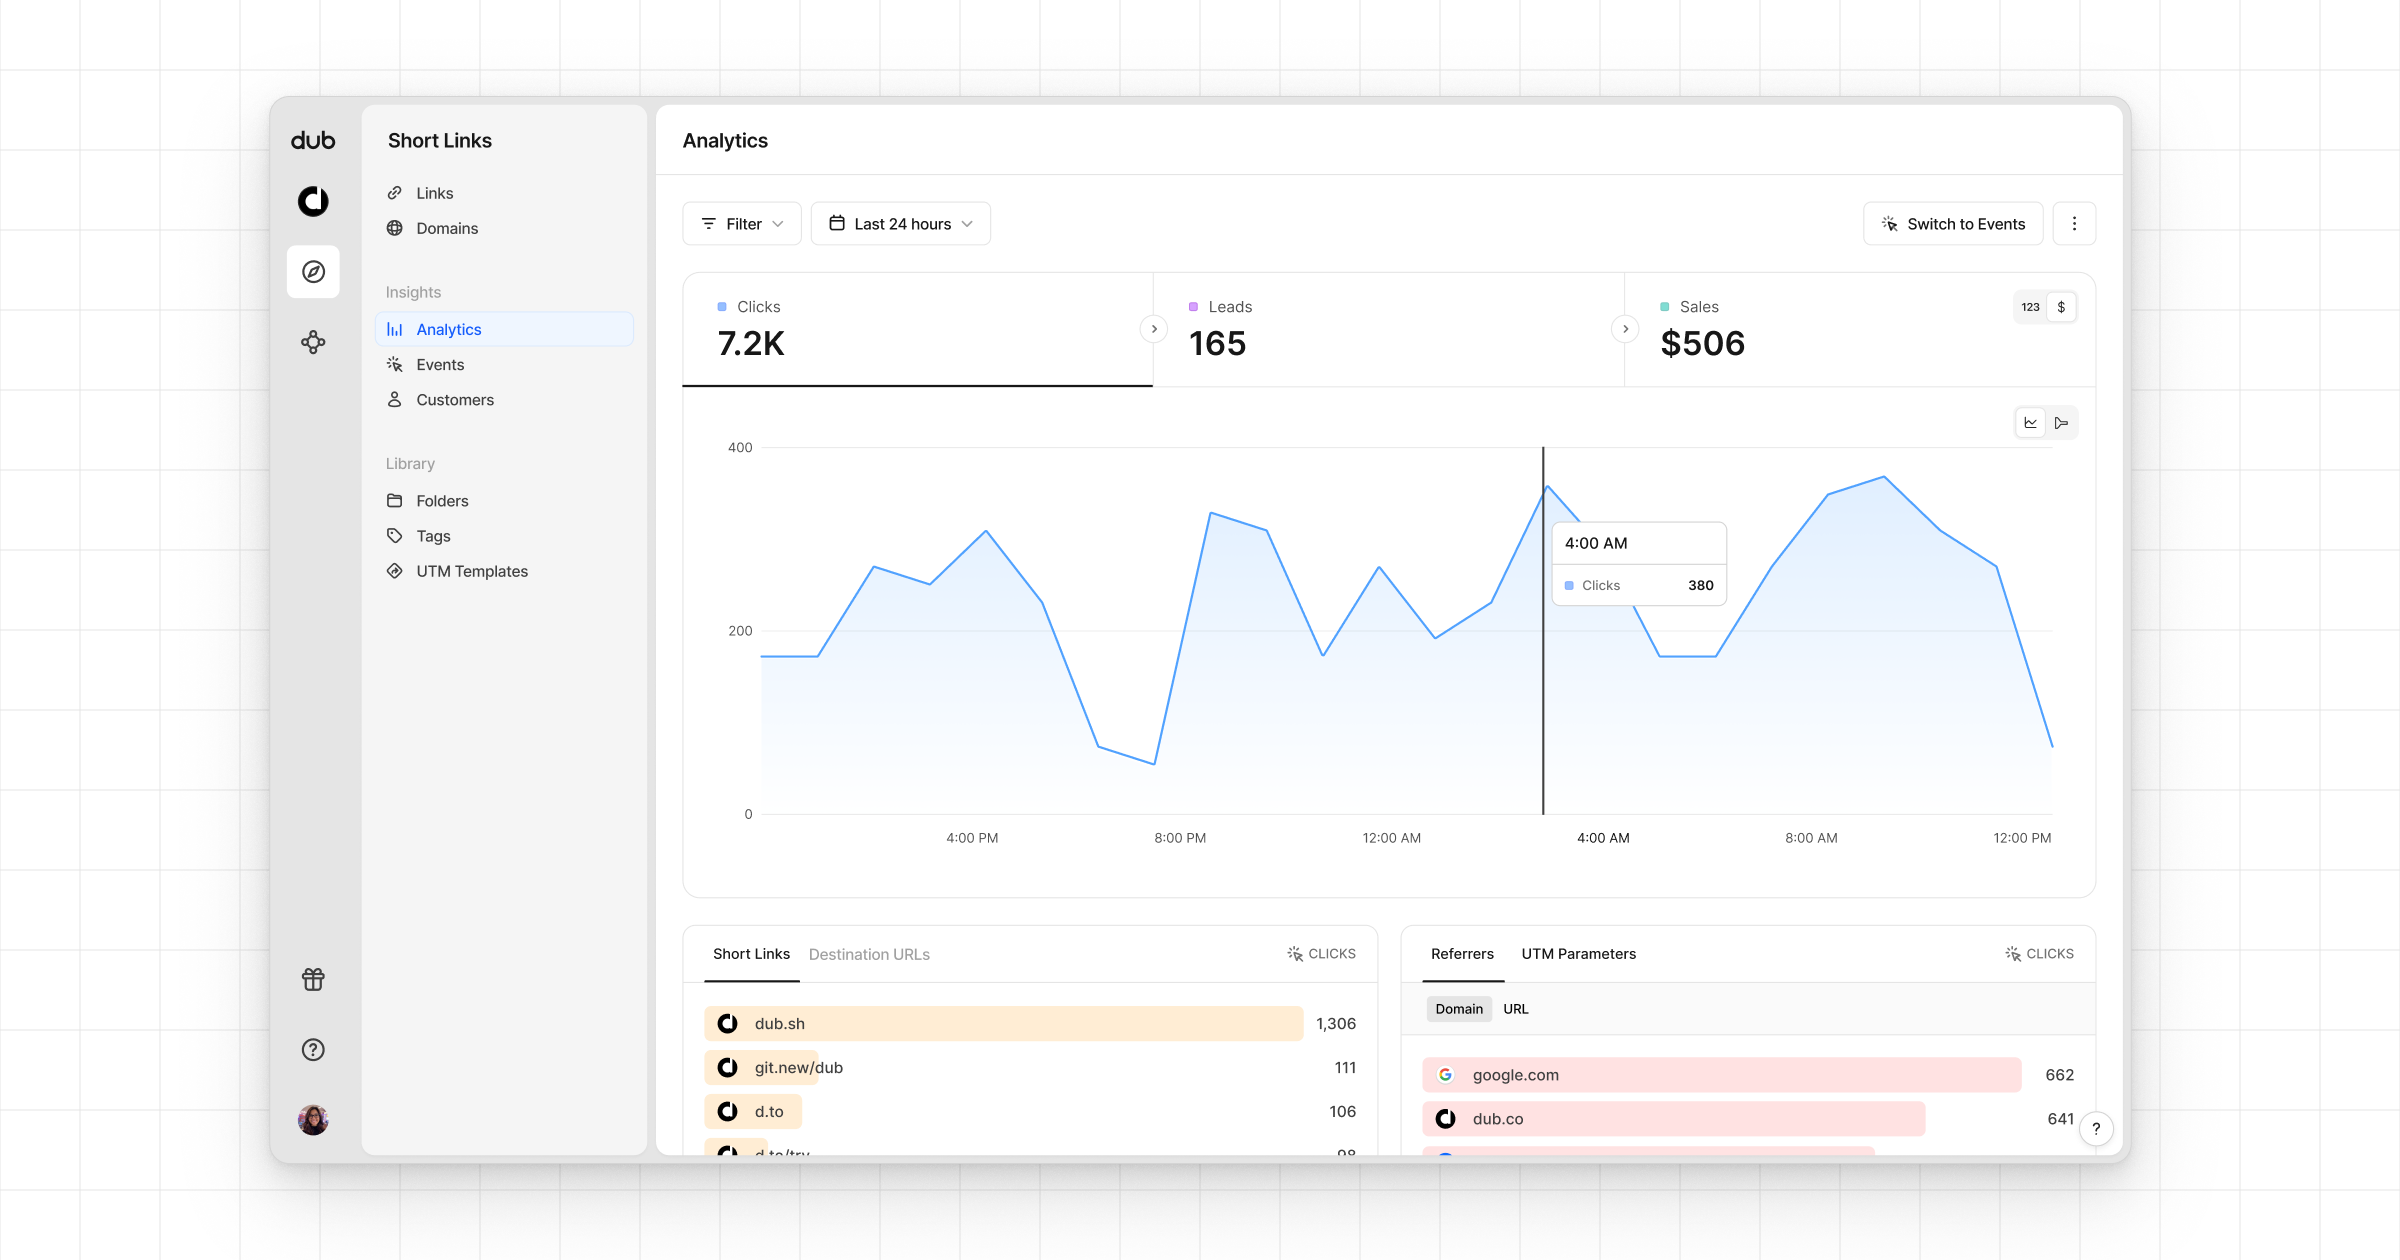
Once you've completed the setup, all your tracked conversions will show up in [Dub Analytics](https://dub.co/analytics). We provide 3 different views to help you understand your conversions:
* **Time-series**: A [time-series view](https://app.dub.co/dub/analytics?view=timeseries) of the number clicks, leads and sales.
Then, in your Next.js app, install the Appwrite Node.js SDK.
```bash
npm i node-appwrite
```
Add the following environment variables to your app.
```bash
NEXT_PUBLIC_APPWRITE_ENDPOINT=https://cloud.appwrite.io/v1
NEXT_PUBLIC_APPWRITE_PROJECT=
NEXT_APPWRITE_KEY=
NEXT_DUB_API_KEY=
```
Add the `DubAnalytics` component from the `@dub/analytics` package to your app’s root layout.
```tsx src/app/layout.tsx
import type { Metadata } from 'next';
import { Analytics as DubAnalytics } from '@dub/analytics/react';
export const metadata: Metadata = {
title: 'Appwrite Dub Leads Example',
description: 'Appwrite Dub Leads Tracking example app with Next.js'
};
export default function RootLayout({
children
}: Readonly<{
children: React.ReactNode;
}>) {
return (
{children}
);
}
```
Create the Appwrite Session and Admin client (necessary for SSR apps, as explained in the [Appwrite docs](https://appwrite.io/docs/products/auth/server-side-rendering)). Additionally, create a function to verify user login.
```ts src/lib/server/appwrite.ts
'use server';
import { Client, Account } from 'node-appwrite';
import { cookies } from 'next/headers';
export async function createSessionClient() {
const client = new Client()
.setEndpoint(process.env.NEXT_PUBLIC_APPWRITE_ENDPOINT as string)
.setProject(process.env.NEXT_PUBLIC_APPWRITE_PROJECT as string);
const session = (await cookies()).get('my-custom-session');
if (!session || !session.value) {
throw new Error('No session');
}
client.setSession(session.value);
return {
get account() {
return new Account(client);
}
};
}
export async function createAdminClient() {
const client = new Client()
.setEndpoint(process.env.NEXT_PUBLIC_APPWRITE_ENDPOINT as string)
.setProject(process.env.NEXT_PUBLIC_APPWRITE_PROJECT as string)
.setKey(process.env.NEXT_APPWRITE_KEY as string);
return {
get account() {
return new Account(client);
}
};
}
```
Create the Dub client and send leads to Dub using the `dub.track.lead()` function.
```ts src/lib/server/dub.ts
import type { Models } from 'node-appwrite';
import { Dub } from 'dub';
const dub = new Dub({
token: process.env.NEXT_DUB_API_KEY
});
export function addDubLead(user: Models.User, dub_id: string) {
dub.track.lead({
clickId: dub_id,
eventName: 'Sign Up',
customerExternalId: user.$id,
customerName: user.name,
customerEmail: user.email
});
}
```
In the `/auth` page, use the Appwrite Admin client to allow users to sign up. Post sign up, check if the `dub_id` cookie is present, send a lead event to Dub if found, and delete the `dub_id` cookie.
```tsx src/app/auth/page.tsx
import { ID } from 'node-appwrite';
import { createAdminClient, getLoggedInUser } from '@/lib/server/appwrite';
import { cookies } from 'next/headers';
import { redirect } from 'next/navigation';
import { addDubLead } from '@/lib/server/dub';
async function signUpWithEmail(formData: any) {
'use server';
// Get sign up info from form
const email = formData.get('email');
const password = formData.get('password');
const name = formData.get('name');
// Create account and session using Appwrite
const { account } = await createAdminClient();
const user = await account.create(ID.unique(), email, password, name);
const session = await account.createEmailPasswordSession(email, password);
(await cookies()).set('my-custom-session', session.secret, {
path: '/',
httpOnly: true,
sameSite: 'strict',
secure: true
});
// Check if Dub ID is present in cookies and track lead if found
const dub_id = (await cookies()).get('dub_id')?.value;
if (dub_id) {
addDubLead(user, dub_id);
(await cookies()).delete('dub_id');
}
// Redirect to success page
redirect('/auth/success');
}
export default async function SignUpPage() {
// Verify active user session and redirect to success page if found
const user = await getLoggedInUser();
if (user) redirect('/auth/success');
return (
<>
);
}
```
Here's the full list of attributes you can pass when sending a lead event:
| Property | Required | Description |
| :------------------- | :------- | :----------------------------------------------------------------------------------------------------------------------- |
| `clickId` | **Yes** | The unique `dub_id` parameter that the lead conversion event is attributed to. |
| `eventName` | **Yes** | The name of the event. Example: "Sign up". |
| `customerExternalId` | **Yes** | The unique ID of the customer in your system. Will be used to identify and attribute all future events to this customer. |
| `customerEmail` | No | The email address of the customer. If not passed, a random email address will be generated. |
| `customerName` | No | The name of the customer. If not passed, a random name will be generated (e.g. "Big Red Caribou"). |
| `customerAvatar` | No | The avatar URL of the customer. If not passed, a random avatar URL will be generated. |
## Example App
To learn more about how to track leads with Appwrite, check out the following example app:
See how to track new user sign-ups with Appwrite and the Dub SDK.
## View your conversions
Once you've completed the setup, all your tracked conversions will show up in [Dub Analytics](https://dub.co/analytics). We provide 3 different views to help you understand your conversions:
* **Time-series**: A [time-series view](https://app.dub.co/dub/analytics?view=timeseries) of the number clicks, leads and sales.
 * **Funnel chart**: A [funnel chart view](http://app.dub.co/analytics?view=funnel) visualizing the conversion & dropoff rates across the different steps in the conversion funnel (clicks → leads → sales).
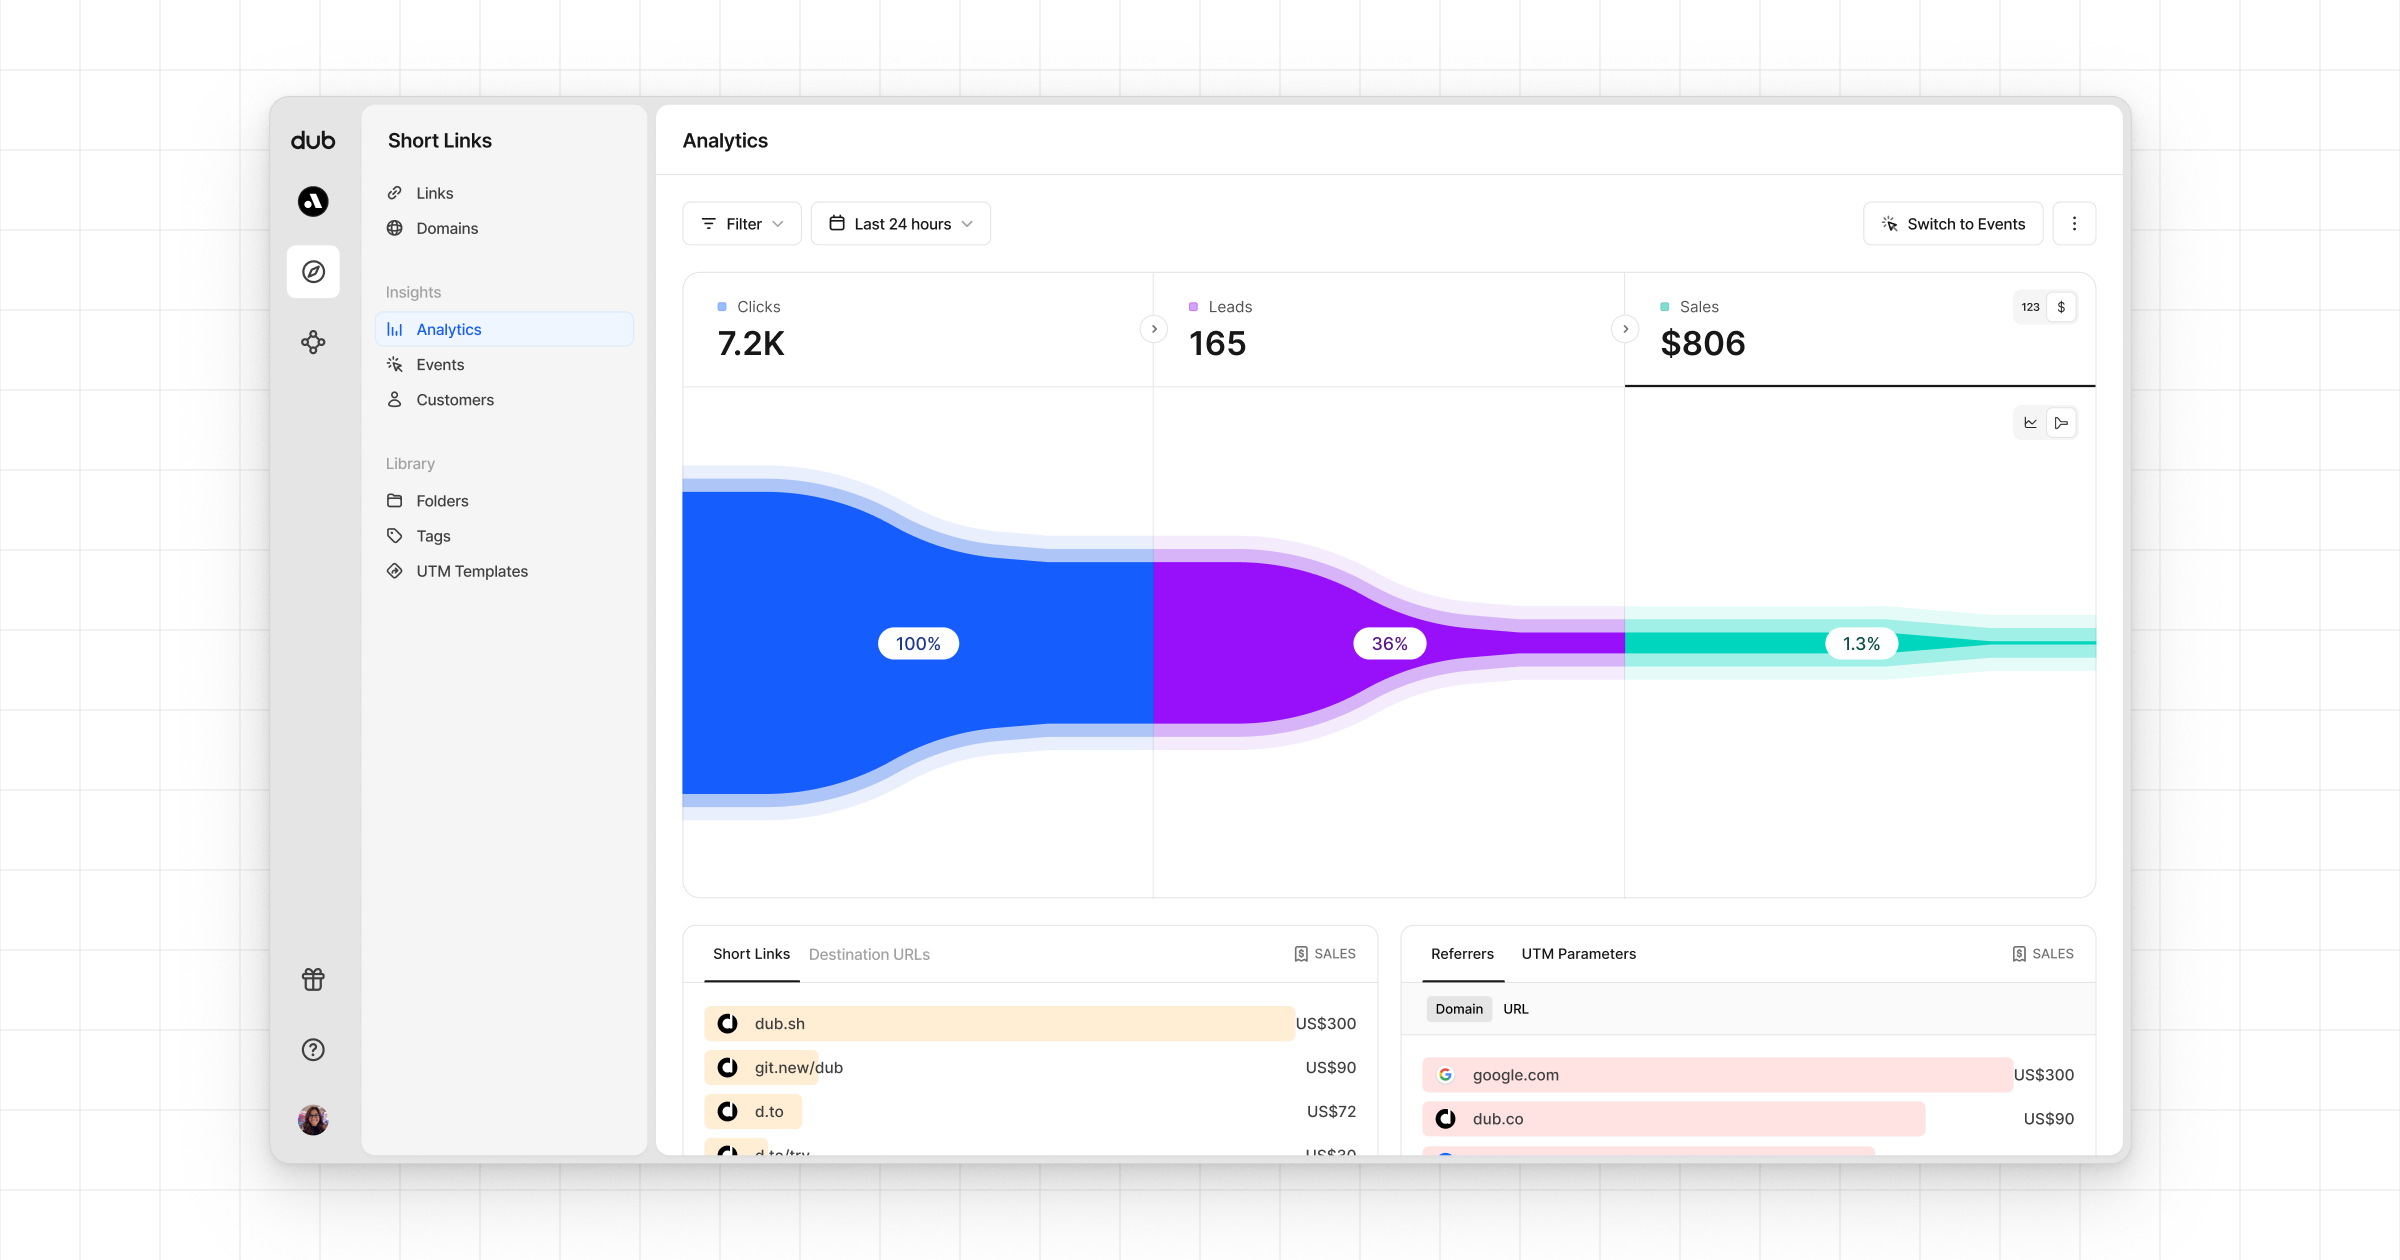 * **Real-time events stream**: A [real-time events stream](https://app.dub.co/events) of every single conversion event that occurs across all your links in your workspace.